

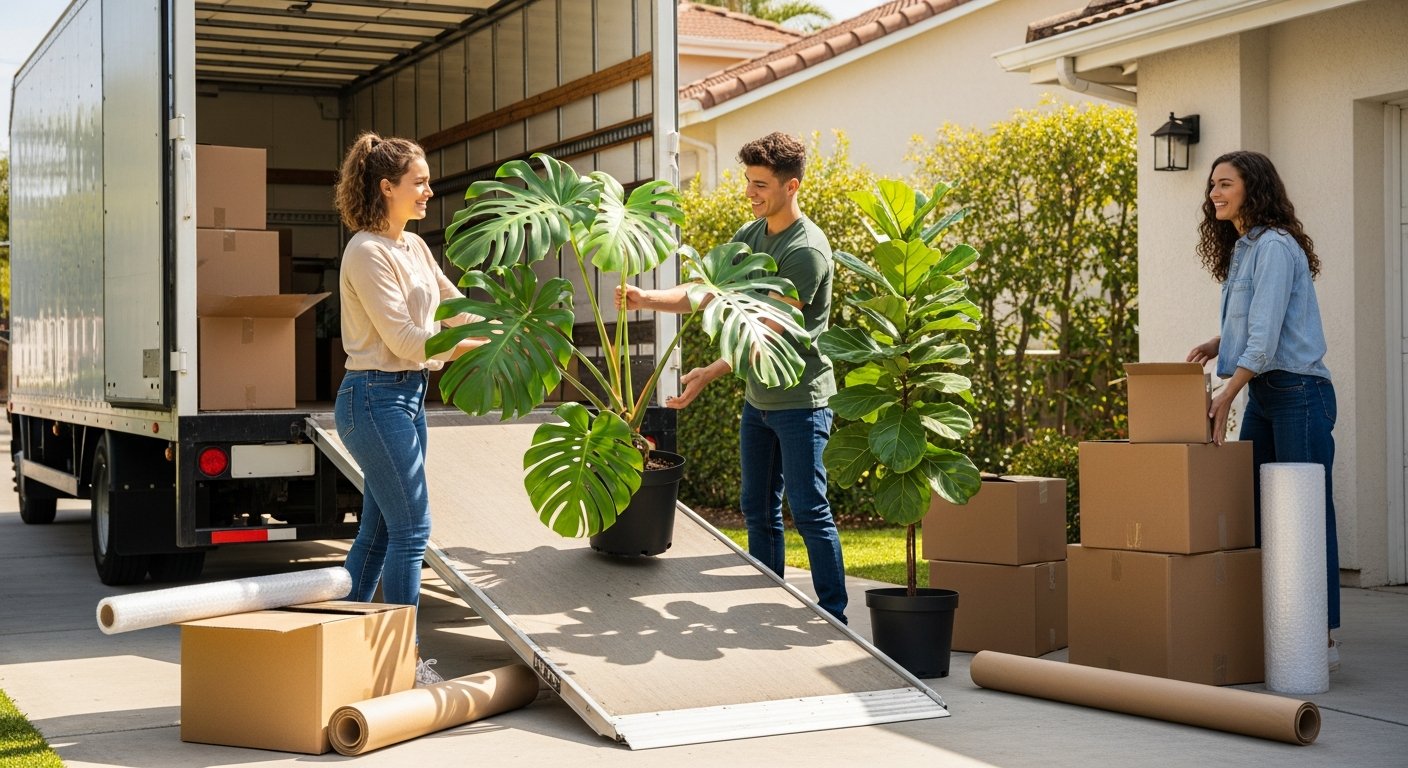
Your prized monstera, the fiddle-leaf fig you nursed back to health, and the herbs thriving on your windowsill are more than decor. They are living members of your household. The thought of leaving them behind or watching them wither during a cross-country move is stressful. You can absolutely transport your greenery safely. The process requires planning, the right materials, and knowledge of state regulations. This guide provides a complete system for moving potted plants long distance, from initial preparation to unpacking at your new home.
Know the Legal Restrictions First
Before you wrap a single leaf, research agricultural laws. Many states, especially those with warm climates like California, Florida, and Arizona, enforce strict quarantine rules. These laws prevent the spread of invasive pests such as the emerald ash borer, spotted lanternfly, and citrus greening disease. If you cross a state border with a prohibited plant, you risk having it confiscated and destroyed at an agricultural checkpoint. No exceptions are made for personal belongings.
Contact the Department of Agriculture for both your current state and your destination. Ask specifically about restrictions on houseplants, soil, and nursery stock. Some states require a phytosanitary certificate, which is an official document confirming your plants are pest-free. A local extension office or certified nursery can help you obtain this certificate for a small fee. If your destination state bans certain species, consider gifting those plants to a friend or donating them to a local botanical garden before your move. This step protects your investment and saves you from heartbreaking on-the-road surprises.
For a deeper look at legal compliance and advanced preparation, refer to our detailed guide on how to move house plants long distance, which covers state-by-state restrictions.
Prepare Your Plants Weeks Before Moving Day
Plants are sensitive to change. A sudden shift in light, temperature, or watering schedule can trigger shock, leading to drooping leaves or root rot. Start your preparation at least three weeks before your move. This timeline allows your plants to adjust gradually.
Begin by pruning dead or yellowing leaves. This reduces the plant’s energy load and encourages compact growth, which is easier to pack. Check for pests. Inspect the undersides of leaves and the top layer of soil. If you see aphids, spider mites, or mealybugs, treat the plant with insecticidal soap immediately. Moving a pest-infested plant risks contaminating your other belongings and your new home.
Two weeks before the move, transition your plants to a more stable watering schedule. Cut back on watering slightly. Soil that is too wet during transit promotes mold and root rot. Soil that is too dry causes wilting. Aim for slightly moist soil on moving day. For succulents and cacti, allow the soil to dry out completely before packing. They handle drought better than excess moisture.
Repotting Decisions
Plastic nursery pots are your best friend for moving. They are lighter, unbreakable, and fit snugly inside boxes. If your plant is in a heavy ceramic or terracotta pot, repot it into a plastic container about a week before the move. Use the same soil to minimize root disturbance. Water the plant after repotting and give it a few days to settle. Pack the decorative pot separately in your household goods. This strategy reduces the weight of your plant boxes and protects your expensive pottery.
How to Pack Potted Plants for a Long Distance Move
Packing is the most critical phase. The goal is to secure the plant, contain the soil, and provide ventilation. Use the following framework for each plant. Gather these supplies before you start:
- Cardboard boxes (one size larger than the pot diameter).
- Packing tape and scissors.
- Newspaper, bubble wrap, or kraft paper.
- Plastic bags (grocery bags or drawstring trash bags).
- Stakes or wooden skewers for tall plants.
- Garden gloves and a spray bottle.
Start by placing the pot inside a plastic bag. Gather the bag around the base of the plant and secure it with tape or a twist tie. This bag catches any soil that might spill during transit. Next, wrap the pot in several layers of newspaper or bubble wrap. Tape the wrapping securely so it does not shift. This insulation protects the pot and roots from temperature swings.
Line the bottom of your box with crumpled newspaper for cushioning. Place the wrapped pot in the center. Fill the gaps around the pot with more newspaper or packing paper. The pot should not shift when you gently shake the box. For tall or top-heavy plants, insert stakes into the soil and tie the main stem loosely to the stake with soft plant ties. This prevents the stem from snapping during sudden stops or bumps.
Finally, punch several small air holes in the sides of the box near the top. Plants need oxygen, especially during a multi-day trip. Mist the leaves lightly with water before sealing the box, but do not soak them. Close the flaps but do not tape them shut completely. Leave one flap slightly open for airflow, or cut a small ventilation window in the top and cover it with mesh tape. Label the box clearly with “LIVE PLANT” and “THIS SIDE UP” on all sides.
Temperature Control During Transit
Extreme temperatures are the biggest threat to plants during a long distance move. A car interior can reach 130 degrees Fahrenheit on a sunny summer day, cooking your plants in minutes. Winter temperatures below freezing can turn leaves to mush. You must control the climate inside your vehicle.
If you are moving in summer, transport plants inside your air-conditioned vehicle, not in a moving truck. Trucks lack climate control and can become lethal ovens. Place boxes on the floor or seat where they are shaded from direct sunlight. If you must use a truck, schedule the move for early morning or late evening when temperatures are lower, and park in the shade whenever possible.
For winter moves, keep plants away from drafty windows and direct heater vents. Wrap the boxes in a blanket or sleeping bag for insulation. On extremely cold days, warm the vehicle for 10 minutes before loading the plants. Do not leave plants in a parked car for extended periods in freezing weather. If your trip includes an overnight stay, bring the plants inside your hotel room. Do not leave them in the vehicle.
For delicate or tropical species, consider using a portable cooler. Place the wrapped pot inside the cooler (without ice) to buffer against temperature fluctuations. The insulated walls maintain a more stable environment than the car cabin alone.
Hydration and Care on the Road
Long distance moves can take several days. Your plants will need attention during pit stops. Check the soil moisture each time you stop for gas or a meal. If the top inch of soil feels dry, give the plant a small drink. Use a spray bottle to mist the leaves, which helps maintain humidity. Overwatering is a common mistake on the road. Remember, the plant is using less water because light levels are lower inside the vehicle.
Monitor for signs of stress: wilting, yellowing leaves, or leaf drop. Some stress is normal, especially for sensitive plants like ferns or calatheas. Do not panic. Remove any damaged leaves to allow the plant to focus energy on healthy growth. Keep the boxes upright at all times. If a box tips over, the soil can compress and damage roots. Use seatbelts or cargo nets to secure boxes in place.
If your trip takes longer than two days, consider giving your plants a brief break. At a rest stop, open the boxes and let the plants experience fresh air and indirect sunlight for 15 minutes. This short break can rejuvenate them for the remaining journey.
Unpacking and Settling In
Arriving at your new home is a relief, but your plants are not out of danger yet. They have endured a stressful journey and need a gentle transition. Unpack them as soon as possible. Remove the plastic bag from the pot and discard the wrapping. Inspect each plant for broken stems, pests, or signs of disease. Treat any issues immediately.
Water the plants thoroughly. The soil may have dried out more than expected. Give them a deep drink until water runs out the drainage holes. Place them in a location with bright, indirect light. Avoid direct sunlight for the first few days. Their leaves have adapted to low light during transit and can scorch easily. Gradually increase light exposure over a week.
Hold off on fertilizing for at least two weeks. The roots are stressed and cannot absorb nutrients effectively. Wait until you see new growth before resuming a regular feeding schedule. Resume your normal watering routine based on the plant’s needs and your new home’s humidity levels. Your new environment may be drier or more humid than your old one, so monitor the soil closely.
When to Ship Plants Instead of Moving Them
Sometimes driving with plants is not feasible. You might be flying to your new destination or moving internationally. In these cases, shipping plants through a specialized service is the best option. Licensed plant shippers understand the legal requirements and packing methods needed for safe transit.
Before shipping, confirm that your destination state or country accepts imported plants. International shipments often require extensive paperwork and inspections. For domestic moves, overnight shipping is ideal. The shorter the transit time, the better the survival rate. Expect to pay a premium for this service, but it is worth it for valuable or sentimental plants. When using a shipping service, clearly label the package as “perishable” and “live plants” to alert handlers.
If shipping is too expensive or complex, consider buying replacement plants at your destination. This option is often simpler for common houseplants like pothos, snake plants, and succulents. Focus your moving energy on rare or irreplaceable specimens.
Moving potted plants long distance requires dedication and careful planning. By researching laws, preparing your plants weeks in advance, packing them securely, and controlling their environment on the road, you can bring your green companions safely to your new home. The effort pays off when you see them thriving in their new spot, adding life and comfort to your space.